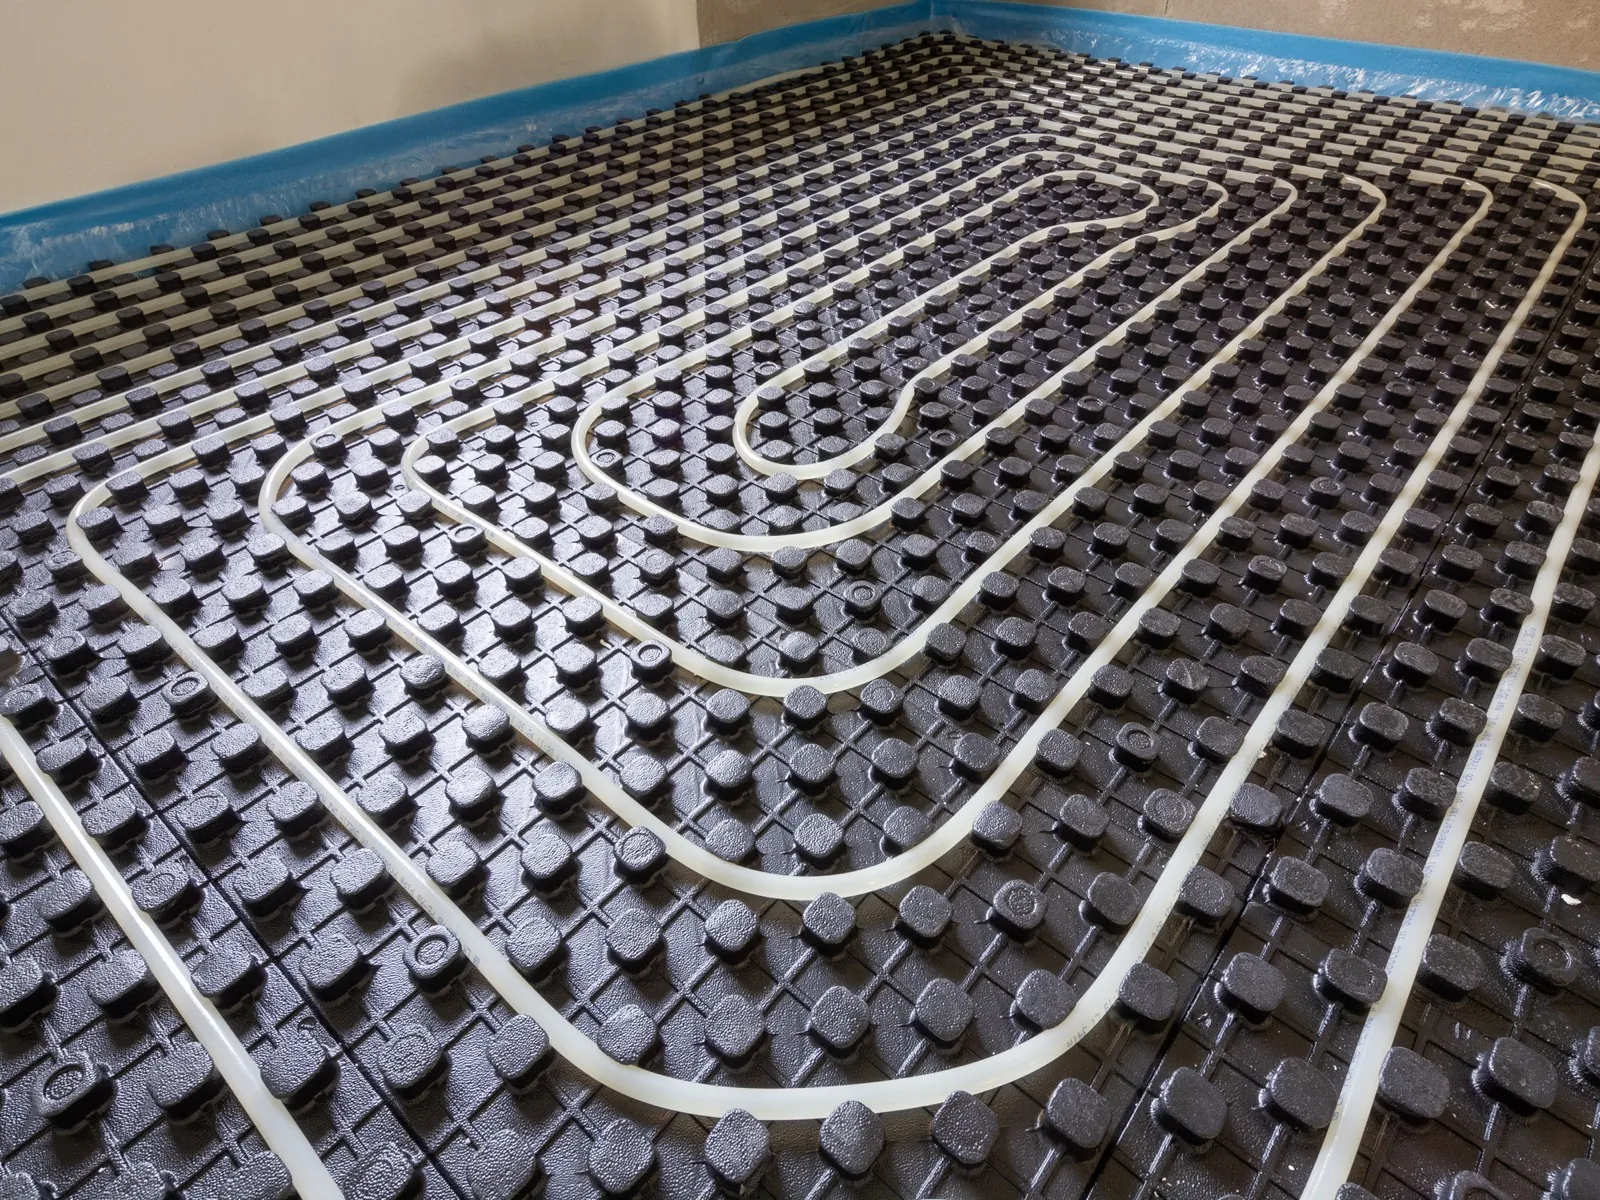
In an underfloor heating system the hot water runs through the pipes, but it is the floor that heats the room. Between the two sits the screed for underfloor heating: the layer that surrounds the pipes, spreads the loads from the floor finish and carries the heat up to the surface.
That screed determines how much heat reaches the floor, how long it takes to get there and what flow temperature the boiler or heat pump has to run at. This guide covers the types of screed, the usual depth over the pipes, the conductivity of each and the installation steps.
What the screed does in underfloor heating
Heat from the water has to pass through several layers before it reaches the air in the room: the pipe wall, the screed and the floor finish. Each layer adds a thermal resistance, calculated by dividing its thickness by its conductivity (R = d/λ). The higher the conductivity of the screed, the less heat is held back on the way.
Besides conducting heat, the screed has two other jobs:
- Structural support. It spreads the loads from the floor finish and from use over the insulation, which is compressible.
- Thermal mass. It stores heat and evens out changes in temperature. More mass gives more stability, but also a slower response when the heating is switched on or off.
Types of screed for underfloor heating
Four solutions cover most housing. In the UK, “liquid screed” usually means a flowing calcium sulphate (anhydrite) screed, although cement-based flowing screeds are also available.
| Type | Conductivity (λ) | Depth over the pipe | Moisture before laying the floor | Points to note |
|---|---|---|---|---|
| Cement screed (traditional semi-dry or flowing) | 0.88 W/m·K | Typically 45–50 mm | ≤ 1.8 % CM | The most widely used. A flowing screed surrounds the pipe better and leaves no air pockets. |
| Anhydrite screed (calcium sulphate) | 1.55 W/m·K | Somewhat less, according to the manufacturer | ≤ 0.3 % CM | Sensitive to moisture. The surface laitance must be sanded off before the floor finish goes down. |
| Cement screed with FloorGraphene | 1.5 W/m·K (limestone aggregate) · 2.0 (siliceous) | As for cement screed | ≤ 1.8 % CM | Liquid additive dosed at the batching plant or into the truck mixer; installation is unchanged. |
| Dry system (no screed) | — | No screed: spreader plates | — | Low build-up height and little thermal mass. For refurbishment where floor height is limited. |
Conductivities from our reference tests; the actual value depends on the mix, the aggregate and the compaction. Residual moisture measured by the calcium carbide (CM) method: usual references for heated screeds, which the floor-finish manufacturer may adjust. In the UK, screeds are more often checked for relative humidity with a hygrometer (hood method); follow the limit set by the floor-finish and adhesive manufacturers.
Underfloor heating screed depth
The minimum depth is set by the system manufacturer in line with EN 1264-4, the installation standard for water-based surface heating; in the UK the screed itself is covered by the BS 8204 codes of practice. As a guide, traditional cement screeds usually have about 45–50 mm above the pipe, and flowing screeds, particularly anhydrite, allow somewhat less. With a 16–20 mm pipe, that puts a traditional screed at roughly 60–70 mm overall. Add the insulation and the floor finish, and a typical installation raises the floor by about 100 mm.
Going either way has a price:
- Below the minimum, the screed does not spread the loads properly and cracks appear, especially above the pipes.
- Above it, there is more thermal mass and more resistance to heat flow: the floor responds more slowly and the water has to run hotter.
Thermal resistance shows why conductivity matters. With 50 mm of screed, the layer has a resistance of 0.057 m²·K/W at a conductivity of 0.88; 0.032 at 1.55, and 0.025 at 2.0. For comparison, a 10 mm ceramic tile is barely 0.01 m²·K/W, and a 14 mm wood floor is around 0.1. Under tiled floors, the screed is the layer that holds back the most heat.
Thermal conductivity and energy use
A screed that conducts better delivers the same heat with cooler water, and the room reaches comfort temperature sooner. Both save energy, and with a heat pump the effect is doubled: the lower the flow temperature, the better its efficiency.
That is what FloorGraphene, our thermal conductivity additive, does: it takes cement screed from 0.88 to 1.5 W/m·K with limestone aggregate and to 2.0 with siliceous aggregate. In the Madrid case study, with a heat pump of COP 3, annual energy consumption for heating and cooling falls by up to 30 %; in the comparative studies for Madrid, Alicante and the Pyrenees, savings range from 20 % to 40 % depending on the home.
Cement screed with additive vs anhydrite
For years anhydrite was the choice for anyone who wanted more conductivity and a thinner screed than cement could give. With a conductive additive, cement screed matches it, and exceeds it with siliceous aggregate, without its limitations:
| Cement + FloorGraphene | Anhydrite | |
|---|---|---|
| Conductivity | 1.5–2.0 W/m·K depending on aggregate | 1.55 W/m·K |
| Moisture | Tolerates moisture from normal use | Sensitive to permanent moisture |
| Residual moisture before laying the floor | ≤ 1.8 % CM | ≤ 0.3 % CM |
| Surface preparation | As usual for cement screed | Laitance sanded off |
| Cement-based tile adhesives | Applied directly | Primer required |
| Installation cost | Lower | Higher |
Comparison based on the values from our comparative studies. The conditions for each screed are set by its manufacturer.
Installation, step by step
- Before pouring. Insulation in place, edge strip around the whole perimeter (it takes up the movement of the screed) and pipes firmly fixed. The circuit is pressure-tested before the screed goes down and kept under pressure while it is laid.
- Joints. At door thresholds and to divide large areas. A common rule of thumb is bays of no more than 40 m² and 8 m in length; pipes that cross a joint are sleeved.
- Dosing the additive. FloorGraphene is a liquid additive: it is added at 1.5 kg per m³ at the batching plant or into the truck mixer on site. Shake the container before use and mix for 5 to 10 minutes to homogenise. We recommend preliminary trials to set the optimum dose for each application.
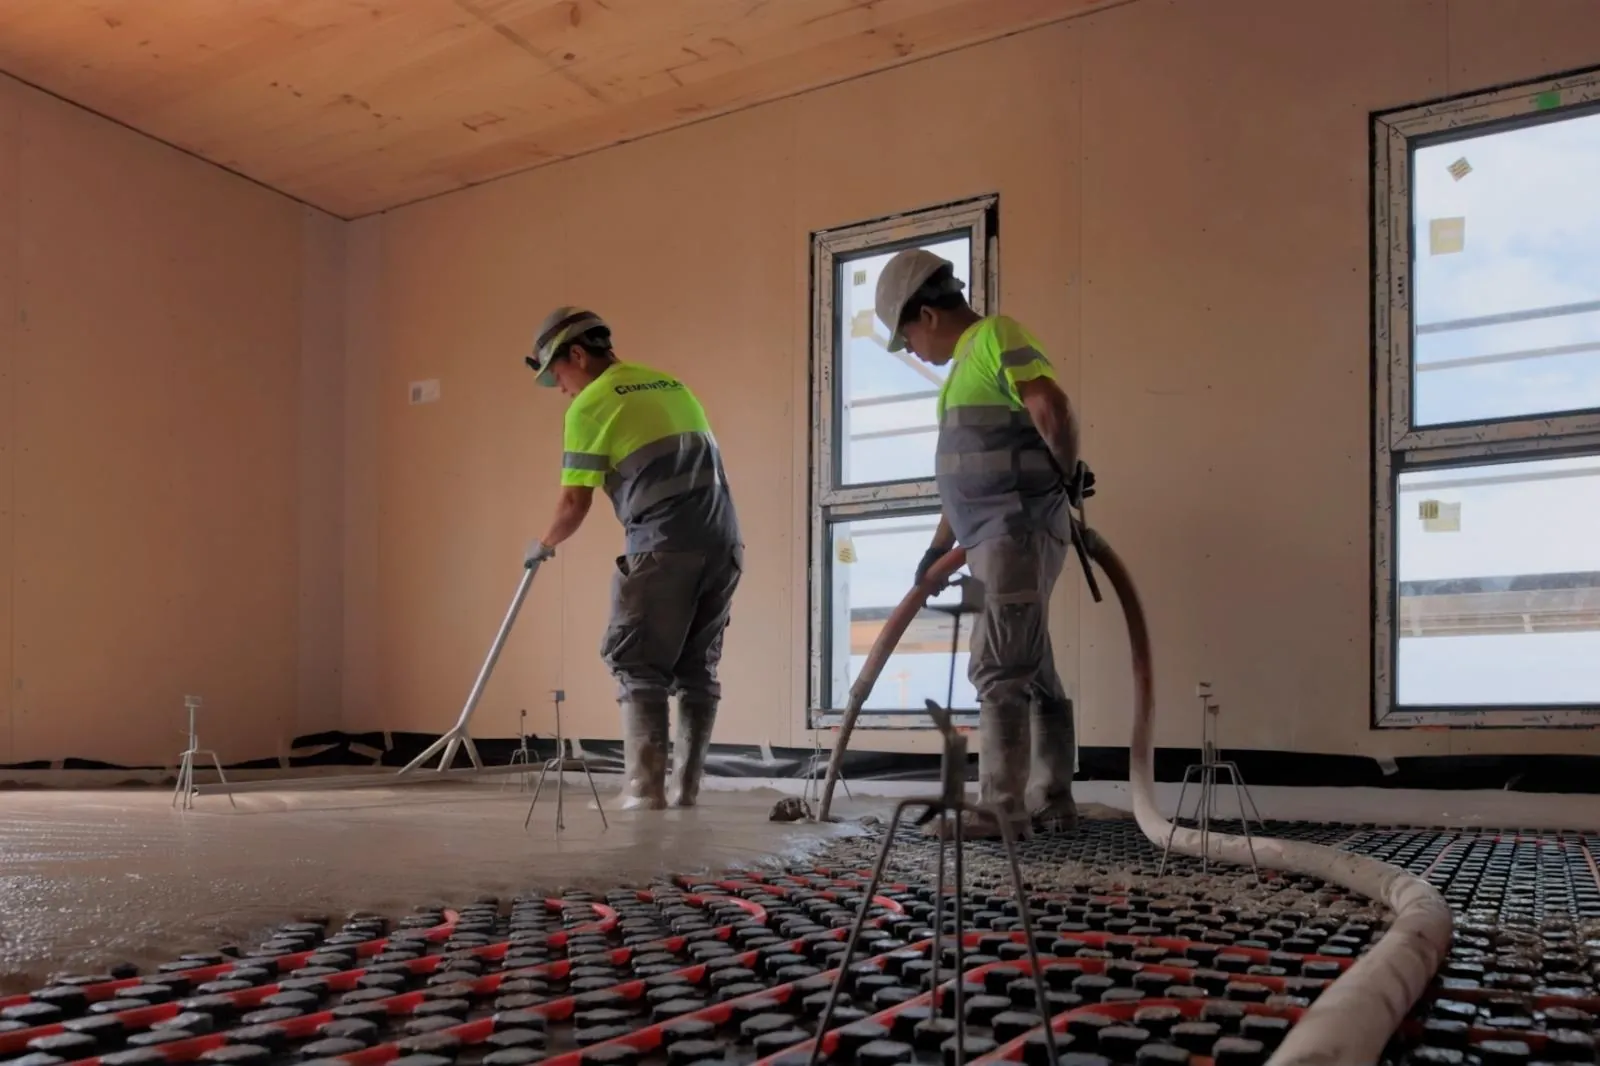
- Pouring and spreading. Flowing screed is pumped and levelled with a dappling bar; semi-dry screed is spread, compacted and ruled off. FloorGraphene does not change the consistency or the appearance of the fresh screed, so the same equipment and methods apply.
- Curing. For the first few days, no draughts, no direct sun and no forced drying.
- First heat-up. With cement screed, not before about 21 days after laying; with anhydrite, earlier, as the manufacturer specifies. Start with a low flow temperature and raise it in steps, following the EN 1264-4 procedure and the screed manufacturer’s instructions. Do not use the heating to dry out a freshly laid screed.
- Before the floor finish. Measure the residual moisture: as a reference, 1.8 % CM for cement screeds and 0.3 % CM for calcium sulphate screeds. The floor-finish or adhesive manufacturer may ask for other values, and in the UK many specify a relative humidity reading instead.